So, I had the itch in me to try to get this editor working in macOS, as I had in Linux. It turns out that this wasn’t all that difficult a journey, though finding the right mix of configuration flags in the build process was probably the toughest part. I have a ZSH script at the end, if you’d like a TL;DR way of installing 🙂
To start with, you have to have homebrew installed, which is a package manager similar to what you’d find on a Linux distro (apt, yum, pacman, portage, etc).
/bin/bash -c "$(curl -fsSL https://raw.githubusercontent.com/Homebrew/install/HEAD/install.sh)"Once you have this installed, you have to install some prerequisites for building. First, you’ll need gcc. A simple way of getting this process started is to just type this in terminal:
gccThis will result in a prompt in which you will be asked if you want to install command line developer tools. Click “Install”.
brew install git cmake gettext libtool pkg-config libunistring libsigc++ autoconf automake pcre2You’ll then want to clone these packages:
- https://github.com/gphalkes/libtranscript.git
- https://github.com/gphalkes/libt3config.git
- https://github.com/gphalkes/libt3key.git
- https://github.com/gphalkes/libt3window.git
- https://github.com/gphalkes/libt3widget.git
- https://github.com/gphalkes/libt3highlight.git
- https://github.com/gphalkes/tilde.git
The libraries should be made and installed in this order. The basic build process for each is:
CFLAGS="-I. -I/opt/homebrew/include" CXXFLAGS="-I. -I/opt/homebrew/include" LDFLAGS="-L/opt/homebrew/lib -Wl,-not_for_dyld_shared_cache" ./configure LIBTOOL=glibtool --without-gettext
make
sudo make install
Just go to each directory in succession and run the above. When you get to lib3widget, you’ll need to create a blank header file to avoid a build error:
mkdir -p ext
touch ext/alloc_traits.h
The final compile step would be tilde, itself. Just move into this directory and run the following:
CFLAGS="-I. -I/opt/homebrew/include" CXXFLAGS="-I. -I/opt/homebrew/include" LDFLAGS="-L/opt/homebrew/lib -Wl,-not_for_dyld_shared_cache" ./configure LIBTOOL=glibtool --without-gettext
make
Because the binary name conflicts with an existing internal directory structure, bypass the automatic Makefile linker by generating the executable manually:
clang++ -L/opt/homebrew/lib -Wl,-not_for_dyld_shared_cache -o tilde_editor src/*.o src/dialogs/*.o -lt3widget -lt3highlight -lt3config -lt3window -lt3key -ltranscript -lunistring -lpthread -lpcre2-8Once the build is done, tilde just needs to be put in a place where it can be run globally.
sudo cp tilde_editor /usr/local/bin/tildeAnd, done! You should be able to run this in Terminal:
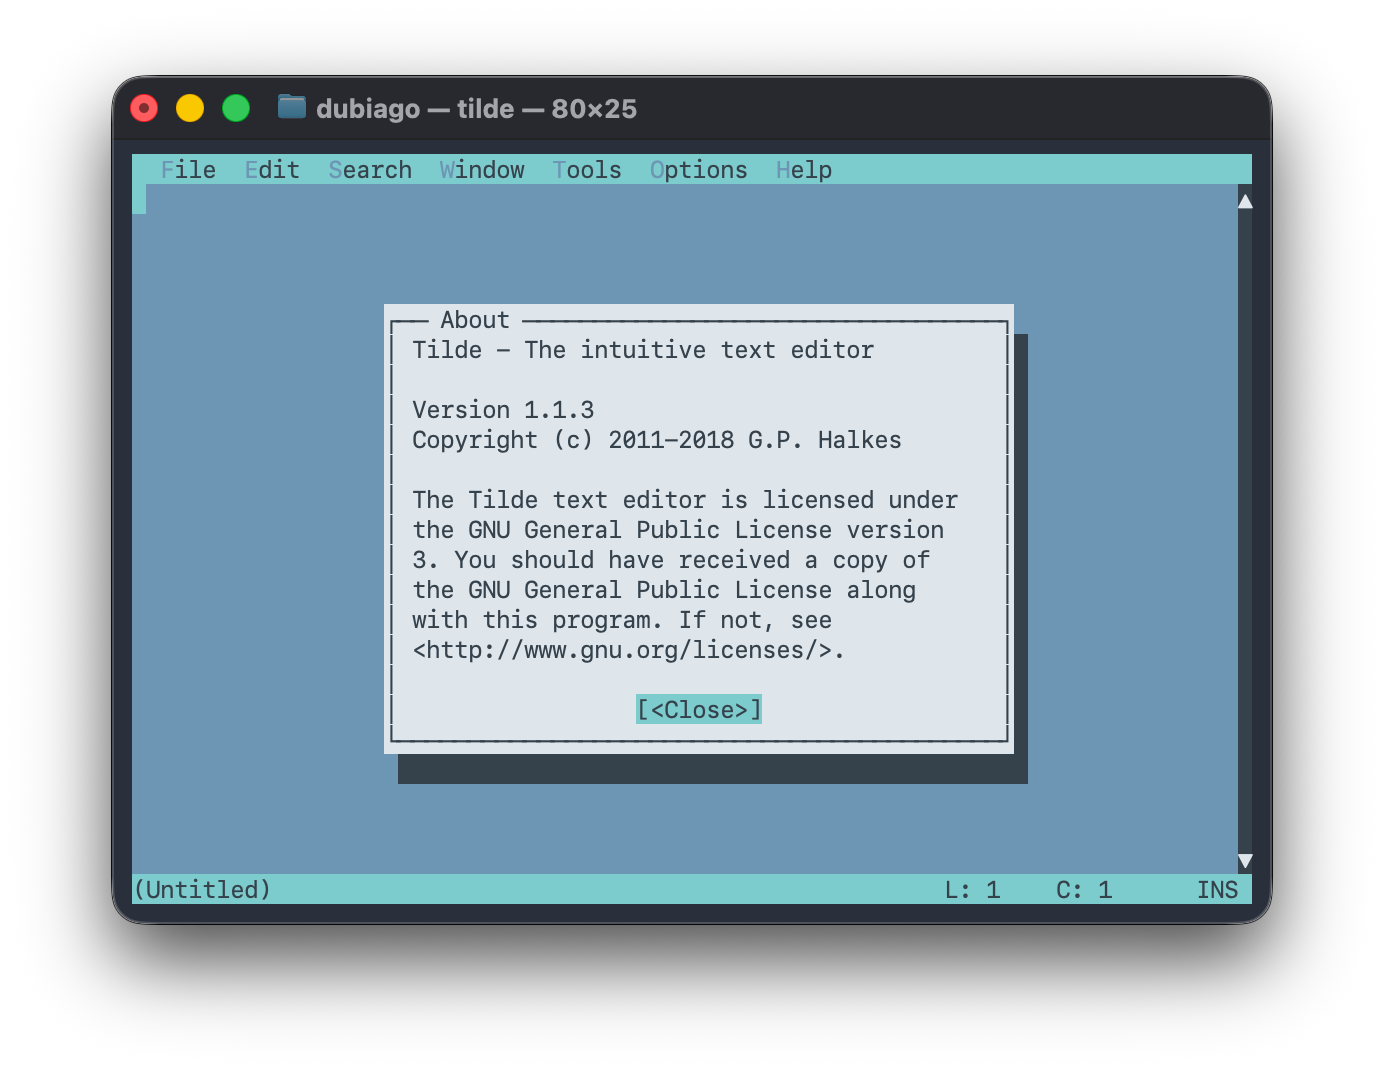
tildeAnd then you can edit to your heart’s content with this MS Edit like text editor.
TL;DR: Here’s a ZSH script to just clone all the source, build it and install tilde. Note: You will need sudo and will be prompted for your credentials.